Sunday, February 7, 2016

A Gown For A Gala

Greetings everyone! Today's refashion is probably my favorite yet, and probably my least complicated evening gown so far (since I've made so many of them... um... anyway). I bought the original late last year from a thrift store. The tags were still on it, originally some $20 drab black velvet office/church wear most likely. It's pretty sad when velvet is drab huh?


So there it is, in all it's perfectly ordinary glory. But as soon as I saw it, I had visions of elegance, and my sister who was shopping with me agreed. So I bought it. I think I paid $5, so not bad eh?

Chop went the sleeves, and I carefully sliced open the seams at the shoulder, leaving about an inch on either side where the sleeves had been attached. I had originally hoped to turn the sleeves into some pretty, drapey, off the shoulder sleeve, but I couldn't figure out how to do that, so I set the sleeves aside and re-examined it. I went to JoAnns to see what sort of ribbon I could find to make straps for the gown, I had sewn it up to fit me, and fit it did, rather well, but I was going to need straps of some kind, otherwise the gown wouldn't quite stay up. I found, of all things, head bands.


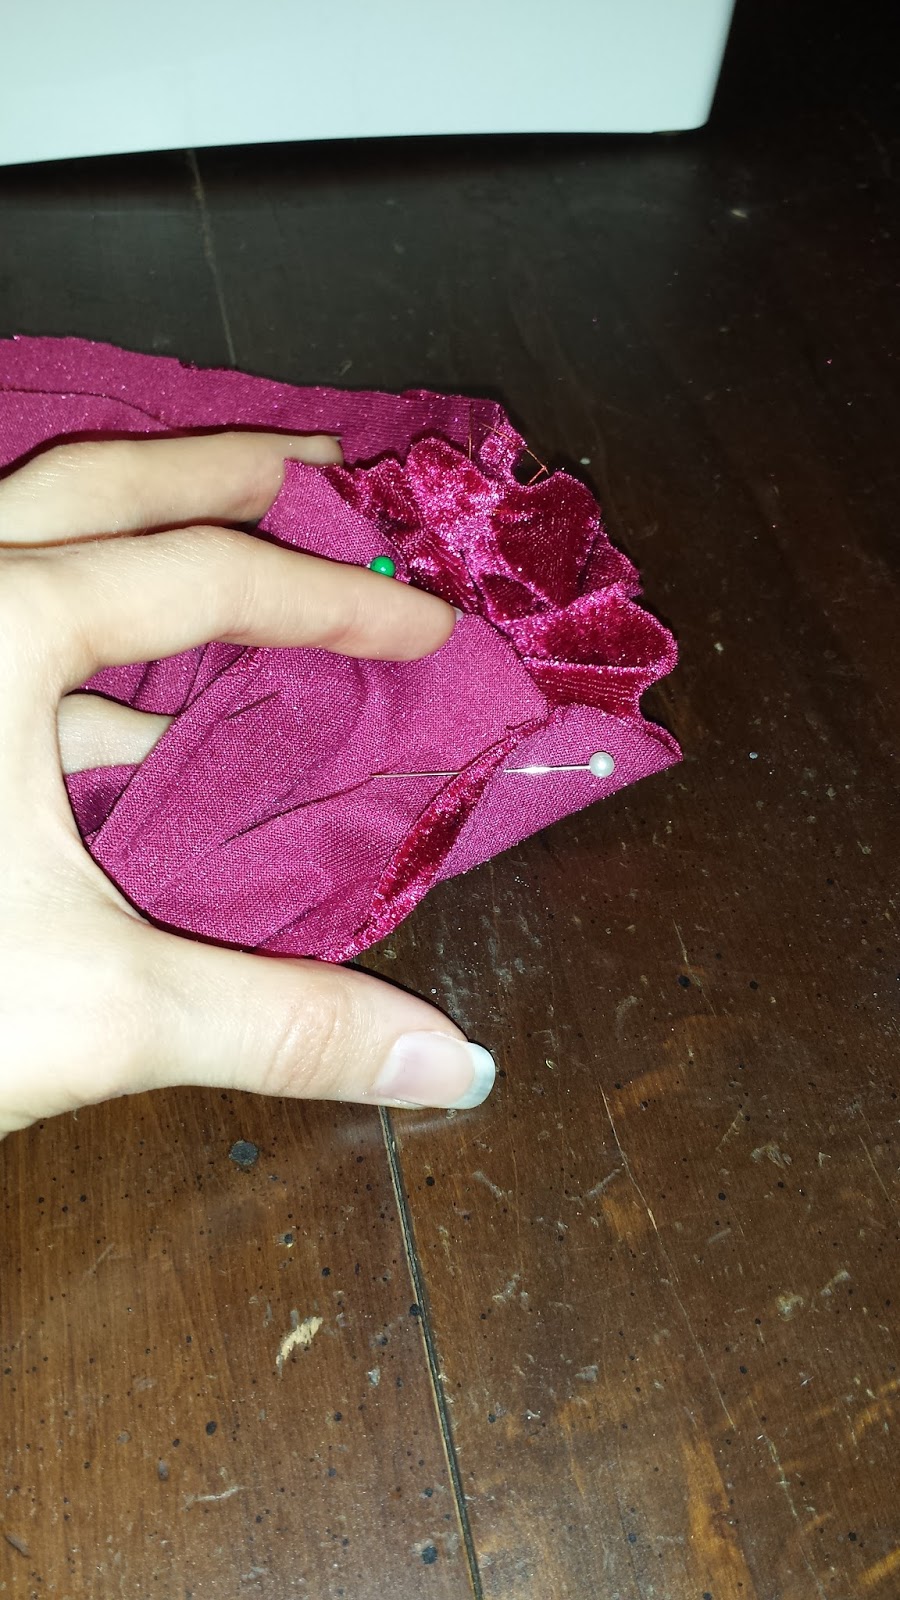
I cut the elastic in the middle and sewed one end of each headband to the front of the dress.
I played around with the placement several times, the headband split in two in the middle, I'd hoped for a sleeve that would hold the dress up at the shoulder and then the other strap could hang elegantly down my arm, but it was not to be. So I played some more... Can you feel the excitement building? This is what I settled on.


Love, love, love how it turned out!! The dress flares out mermaid style when I walk, which looks even nicer, I think, and it's pretty comfortable to wear. I wore it to the Georgia Entertainment Gala, (it was 30 something degrees ya'll, I had to wear tights and tote a jacket around, but I was still able to enjoy everything once I got inside. 


Met up with old and new friends, I'm pictured here with the lovely and talented Francine Locke, who was nominated for Best Actress at the Gala! (with her husband, and my fellow actor Jim Thompson).

So far it's my favorite, and I'll be wearing different shoes next time, which will really pump it up I think.


Friday, December 11, 2015

Pill Box Hat and Beanies

And we're back again briefly after a bit of a hiatus. I'm in the middle of relocating to Atlanta, and currently living with the in-laws, and it's all fabulous! I'm so so so so so glad I didn't pack up my sewing stuff, because I found a gorgeous dress turned evening gown that I can't wait to show ya'll!

But today's post is all about hats. I love em! (And usually forget to wear them, haha)

First thing's first...

This is the before for both items. I was strolling through Goodwill, struck with inspiration for some sort of hat to go along with a vintage inspired jacket I have, and thought, 'I need a stretchy, red velvet material for this idea.' Literally 10 seconds later, glanced over to see this bulky sweater hanging there, almost by itself, waiting for me. Yay! I grab it to try it on and determine that there would be plenty of fabric, and lo and behold there was that strange looking hat I'm wearing. I snatched up both and called it a day. I don't think that's ever happened, to find what I was looking for on a whim, immediately..

Anyhoo.. today I got to work.


I had tucked all of that inside the hat to make sure it would be the right size, stay on my head, etc, and liked what I saw, so chop chop happened.


I tucked everything in evenly, and applied fabric glue. I'm not sure this was the good strong stuff, but sewing was not an option. This isn't a 'wear and tear' type of hat, so I'm going to be very gentle with it anyway.


The things we do to ensure something stays together as the glue is drying! This was the only round item that seemed to be just the right size. Be resourceful!


And this was the final result, and dreadful picture, I'll try to get a better one soon, this at least shows what's going on. I think I will add black tulle, the kind they wore in ye olden days for funerals and parties, to give it more of a vintage feel, but I'll sew that on so that it can be tucked in and hidden if needed.

Onto the next refashion!

The sweater. Size 2X. I saw a tutorial on how to make beanies out of sweaters, and although this really isn't beanie material, my other idea wasn't going to work, so I figured I'd give it a try. I wasn't going to wear that much red velvet for anything else, so I was content in chopping up the sweater.


I wrapped it around my head very awkwardly to make sure I had plenty of fabric, which I certainly did, then chopped.


I wrapped that cut portion around my head again, and had about five extra inches of fabric, and I sewed this up like ya do, and cut off the excess. Then came the fun part.


Isn't that cute? I can't think of what exactly it reminds me of, and I was so tempted to leave it as is, but my plans must commence, and I didn't know where I would have worn that anyway, even for a costume piece.

                                         
I folded it over three times into a long rectangle, then cut it with a rounded edge.


This part was very tricky. This might be easier on a larger piece or something. I don't know if I can explain it without a video. 


You open up the curved parts and match them to each other, side by side until they're all matched up and kinda look like a flower with nothing in the center, and sew it all up. Isn't that a rubbish explanation? I'll do a video soon on a sweater, That's likely to make more sense.


This was the final result! Seems a bit French Revolutionesque, but it seems comfortable and fits well, so I'm happy! I still have a bit of excess fabric from that sweater, the sleeves and such, so I'll hold onto them for further inspiration!


Tuesday, October 13, 2015

Upcycle Before You Toss It!

In the spirit of being economical, frugal, cheap, responsible, what have you, I like to carefully examine every garment before I throw it out or thrift it, for refashion possibilities. I found two such items in my closet the other day. One was a previous refash, the other a semi formal I'd only worn twice. I searched high and low for the original picture of this first one and concluded that I either deleted it, or never took it, it was a dress that I turned into a maxi skirt, pictured here.


Really not super exciting to me, although it feels nice. It's a bit heavier fabric than what is usually used for maxis. I wore it once, it's just not me. I thought about passing it on to someone else or the the thrift store, but thought I should remake it again to give it a face lift. Here's what happened.


Much more better! It's still subtle, but more chic. It can be played up a bit with a colorful belt or jewelry that pops if I want. It's quite comfortable. Still not my favorite outfit, but I can hang on to it a bit longer now. :)

My second refash is a bit more exciting, a bit more me.

Original:


This wasn't a thrift store find, I'm almost positive I got it from Papaya a couple years ago on clearance for $10, which is still a decent price for a, what is this, semi formal? More of a clubbing dress, but anyway.. I wore it to my brother's rehearsal dinner, and maybe one or two more times. I don't party, so it was kinda just taking up space in my closet. The lace around the sleeves was starting to die, so I thought I'd try a little summin summin on it. Here's what happened. 

I chopped it. That's it. No sewing, nothing, just a chop.


Much, much more better!!! I love it!!! I don't know if I'm finished with it, I may have to sew the two layers together because the lace wants to ride up and leave the bottom layer behind.. not the end of the world, but I'm uncertain how I will be able to put it on if I sew them together.. For now, I'll leave it. I really, really love this one!


Monday, October 12, 2015

What Took Me So Long? Simplest Refashion Ever.


Well I have had this pretty thing in my refash stash for at least a year. I had hoped to make some kind of Regency era inspired costume out of it, but it really wasn't long enough, and after the last refash I did with a very similar lacy gown, I knew just what to do!!


Really there were several possibilities, but all I ended up doing was removing the sleeves and of course the shoulder pads. The sleeves weren't that bad after the shoulder pads were gone, but I tucked them in to see what it looked like sleeveless, and loved it! It suits spring/summer better anyway.


Very elegant and streamlined. I will get a longer slip to go underneath it, but that's it! Btw, those shoes were originally $40, and I got them for $5!!!! Win!!!!!

The good thing about the buttons is that I could unbutton most of them and pair this with a cami and pants, that seems to be a new look that can work (but only with the right combination of color and such.) I like versatility, especially when the original garment is so inexpensive! This was $5 or less, I don't remember exactly...

Saturday, October 10, 2015

Lacy Green to Vintage Theme

Back again!! It's been ages! Hubs and I are planning to relocate to ATL!!! I'm so excited! It's becoming the Hollywood of the Southeast, and hopefully this will further my acting career significantly. In the meantime, I was busy and unmotivated for refashions, then suddenly did three! Here's the first one, which I'm most excited about!

I actually found a dollar per pound thrift store, and while you have to dig for buried treasure, sometimes your labor is fruitful!


It's much uglier on the hanger. Size 18, with corset ties in the back, which I really like. I didn't straight up love the color, but thought it might be much nicer once I finished it. I actually had a moment of buyer's remorse later in the day, but shrugged it off. Once I got home to look at it, I felt very inspired. I took off the buttons and sewed up the front, much in the same way that I did with the red dress for the premiere ball gown a few months back. Then I removed the shoulder pads and sleeves. Much more better already! I took in the sides from the bottom of the sleeve down to the waist, and left it at that to see how it looked. Since the dress was too big for me, there was a chance the fabric would flare out a bit and give me a more defined waist. It worked rather well too. Last thing was to fix that neckline. I cut straight down the back of the gown about an inch, also an inch on both sides of the shoulders, folded it all under and sewed. I had to do that twice before I was satisfied with the look. That seemed to finish it all very nicely. It is very much see through, so I put a black slip and tank top underneath it. And voila!!


Very nice I think! I plan to find a poofy skirt to add underneath it a la 50's cocktail dress, for more formal events, but I really love the look of this! Black gloves and pearls, ya feel me? But this will do for the picture.. (can't wait for post Halloween sales, omg!)

I still think it needs a leeeetle something, maybe black lace at the collar? But the joy of refashions is how much you get to play with an outfit! And this is just un-costumey enough for church or something.


Wednesday, August 5, 2015

To Dye For!

Me again! Today's refash is very simple, nothing more than giving a garment a dye bath. Here goes!


This is what happens when you're too lazy to get a proper before picture. Said picture doesn't do the dress justice to the color of it. Think that yellow green crayon that never gets used.. That particular color doesn't really do anything for me (i.e. it's ugly, ok?) So I pulled out the one bottle of dye I own (which I also used for that ugly red gown that I turned into a beautiful evening gown.. Dark blue and yellow green? Sure to be a nice final color.


And sure 'nuff! As I watched the dye take, I was filled with delight in my very innermost soul!! The final result was a couple shades lighter than I thought it would be, and I liked the darker color, but this is a very nice, pretty color, and I'm very pleased with it!! (And I still have some blue dye leftover, yay!!

Friday, July 24, 2015

To Refashion A Refashion

Sooo I think last year sometime I bought this Asian style dress, and was sure I could do something fun with it.


I cut it in half to make it into a two piece, this way they could function as separates, and was accosted with problems. I started putting a zipper on the skirt part and stopped halfway through. I ended up shelving the project after my enthusiasm died down, so it sat in my closet for about a year. I found it again and took another look and decided I didn't care, and went to toss it. Then I looked at the skirt again and an inspiration struck!


Hot glue gun, the skirt part, and mod podge to make the fabric shiny.. and then I thought to add some sparkly funness to it! 


Could not get a proper picture of it, but that's the general idea! Now where to hang it..... So when you have a refashion that doesn't cut it, take a second look and see if it could work as something else. I'd rendered it useless with the way I'd cut it, so at least I was able to salvage something.